1,  选品工具

https://www.fastmoss.com/
https://Dropship.io/Tiktok 工具
回复
1, 选品工具
https://www.fastmoss.com/
https://Dropship.io/1, 驱动
https://sites.google.com/chromium.org/driver/downloads

https://blog.csdn.net/zhoukeguai/article/details/113247342
1,  TOR隐藏服务

一、准备

一台 Linux 服务器(建议新建最小化实例),具备 sudo。

本地已有一个要对外发布的服务(例如 Nginx/Apache 在本机 127.0.0.1:80 或 Unix Socket 上)。
community.torproject.org

二、安装 Tor(推荐用 Tor 官方仓库)
# 1) 启用 Tor 官方 APT 仓库(替换 <DISTRIBUTION> 为你的代号,如 bookworm / jammy)
sudo apt update
sudo apt install apt-transport-https gnupg -y
wget -qO- https://deb.torproject.org/torproject.org/A3C4F0F979CAA22CDBA8F512EE8CBC9E886DDD89.asc \
 | gpg --dearmor | sudo tee /usr/share/keyrings/deb.torproject.org-keyring.gpg >/dev/null

sudo tee /etc/apt/sources.list.d/tor.list >/dev/null <<'EOF'
deb     [signed-by=/usr/share/keyrings/deb.torproject.org-keyring.gpg] https://deb.torproject.org/torproject.org <DISTRIBUTION> main
deb-src [signed-by=/usr/share/keyrings/deb.torproject.org-keyring.gpg] https://deb.torproject.org/torproject.org <DISTRIBUTION> main
EOF

# 2) 安装 Tor 与 keyring
sudo apt update
sudo apt install -y tor deb.torproject.org-keyring


这样能拿到最新稳定版 Tor,比仅用发行版自带包更及时。
support.torproject.org
community.torproject.org

三、配置 Onion Service

编辑 /etc/tor/torrc,添加(或按需修改)以下条目:

# v3 隐藏服务目录(Tor 会在重启时生成密钥与 hostname)
HiddenServiceDir /var/lib/tor/my_site/
HiddenServiceVersion 3

# 将 Onion 的 80 端口转发到本机 80(也可转到反代/应用端口)
HiddenServicePort 80 127.0.0.1:80

# (可选)更隐蔽的做法:使用 Unix Socket 而不是 TCP 回环
# HiddenServicePort 80 unix:/var/run/tor/my_site.sock


注意:HiddenServiceDir 需要 tor 进程可写;常见报错就是目录/权限不对。
community.torproject.org

重启 Tor:

sudo systemctl restart tor


成功后,在 HiddenServiceDir 下会出现 hostname 文件,里面就是你的 v3 .onion 地址(56 个字符)。请妥善保管同目录中的私钥文件。
community.torproject.org
support.torproject.org

现在用 Tor Browser 访问该地址,应能看到你的站点内容。
community.torproject.org

四、(可选但强烈建议)启用客户端授权(私有/白名单访问)

如果你不希望“知道地址的人都能访问”,可以为 v3 服务开启客户端授权:服务器侧在 HiddenServiceDir/authorized_clients/ 放入授权文件;客户端持有私钥后方可访问。流程要点如下(官方步骤精简版):

服务端:在 <HiddenServiceDir>/authorized_clients/ 内,为每个允许的客户端写入一行 descriptor:x25519:<公钥base32> 的 .auth 文件,然后 systemctl reload tor;

客户端:在 torrc 设置 ClientOnionAuthDir /var/lib/tor/onion_auth,并为目标 onion 地址写入 <onion-addr-without-.onion>:descriptor:x25519:<私钥base32> 的 .auth_private 文件,重载 Tor 即可访问。
community.torproject.org

五、(可选)把 SSH 也放到 Onion(请务必配合客户端授权)
HiddenServiceDir /var/lib/tor/ssh/
HiddenServiceVersion 3
HiddenServicePort 22 127.0.0.1:22


将 SSH 暴露到 Onion 时,务必打开 v3 客户端授权,避免被扫描与暴力破解。
community.torproject.org

六、(进阶)临时/程序化创建 Onion(Ephemeral)

如果想在应用中动态创建 Onion(例如穿透 NAT),可以通过 Tor ControlPort 的 ADD_ONION 命令创建“临时”服务;这在自动化部署/自托管工具中很常见。请确保理解 single-hop / anonymous 模式的区别与风险。
spec.torproject.org
+1
trickster.dev

七、安全与运维要点(强烈建议)

仅绑定回环或 Unix Socket:你的 Web/应用服务器监听 127.0.0.1 或 unix:/...,不要绑定公网。
community.torproject.org

最小暴露:需要公网访问时用常规反代;Onion 侧只走本机回环/Socket。

不要与中继同机同实例:同一 Tor 实例不建议同时跑中继与隐藏服务。
riseup.net

密钥备份与轮换:备份 HiddenServiceDir 私钥;泄露即意味着可被假冒。
community.torproject.org

只用 v3:v2 已弃用;确认用 56 位地址。
community.torproject.org
support.torproject.org
+1

运维与泄露面检查:参考官方“运营安全”与 Riseup 的 Best Practices,避免通过站点配置、日志、外链等暴露真实 IP/域名。可用 OnionScan 辅助检查。
community.torproject.org

如果你告诉我你的发行版(如 Debian 12/Ubuntu 24.04)和要暴露的服务端口,我可以把上面的命令与 torrc 片段按你的环境定制,顺带给一个 Nginx(Unix Socket) 最小示例配置。

您说:
OPSEC 是什么?
ChatGPT 说:

OPSEC(Operations Security,行动安全/运作保密)是一套持续性的管理流程,用来识别并控制在日常活动中可能泄露给对手的关键信息与可观察迹象,避免被对手用来推断你的计划、能力与弱点。最早源于军队/情报领域,如今广泛用于企业安全、研发、红队蓝队、个人隐私等场景。

OPSEC 五步法(经典循环)

识别关键信息(CI):哪些信息一旦被对手知道就会造成实质风险?
例:发布窗口、内网拓扑、管理员账号命名规则、出差行程。

威胁分析:谁可能针对你?他们的动机与能力是什么?
例:竞争对手、钓鱼团伙、APT、数据扒手。

脆弱性分析:哪些行为/迹象会暴露 CI?
例:社媒晒工牌、Git 仓库泄密、文档元数据、可被爬到的测试域名、规律化作息。

风险评估:结合发生概率与影响度,给出优先级。

实施对策:最小化暴露面与可观察性,并持续评估效果。
例:最小必要披露、分级信息管控、最小权限、密钥与元数据治理、变更前后“迹象审计”。

和相关概念的区别

InfoSec(信息安全):侧重数据/系统的机密性、完整性、可用性;OPSEC 更关注行为与迹象管理。

COMSEC(通信安全):加密与密钥管理;OPSEC 关心“即便加密,是否仍泄露模式/时间线等侧信道”。

PERSEC(个人安全):个人身份与隐私;OPSEC 可包含 PERSEC,但侧重“对手视角下的可推断性”。

常见失误(非穷尽)

社交媒体/招聘启事/发布日志里过度披露细节(堆栈、架构、上线窗口)。

文档/图片元数据(作者、路径、坐标)未清理。

代码仓库遗留密钥/令牌与可预测命名。

预发布/演示环境对外可见、目录索引开放、错误页信息量过大。

高度可预测的模式(打卡、会议、变更节奏)被对手长期画像。

最小清单(可落地)

按需披露:对外材料做“对手视角”复查;设定可公开/内部/机密分级。

元数据治理:对外文件与图片统一脱敏;CI/CD 中加“元数据剥离”步骤。

密钥与配置:集中式秘密管理(而非 .env 入仓),定期轮换、审计。

环境隔离:测试/预发使用访问控制或私有入口,关闭目录索引与详细错误。

最小可观察性:减少可被爬虫探测的指纹(版本号、Banner、调试端点)。

训练与演练:员工社工演练、红队蓝队对抗;将 OPSEC 纳入变更评审。

简而言之:OPSEC 是“从对手视角出发”的信息与行为暴露管理。并不等同于“隐身”,而是有计划地控制能被观察与推断到的内容,用最小成本降低风险。
https://www.pornhub.com/
https://www.xvideos.com/
https://stripchat.com/
成人用品独立站网址
https://acmejoy.com/ 重庆鸿巨网络科技有限公司
成人独立站推流

成人用品公司
1,  Tracy’s Dog   贝斯通(Beston / 贝斯通电子商务有限公司 / 贝斯通(深圳)科技有限公司) 的品牌

亚马逊网址

https://www.amazon.com/stores/page/854B06B6-ABB9-46C6-B809-2B4731E3E9B2
2, einseo Einseo.com 深圳易威行贸易有限公司
亚马逊网址

https://www.amazon.com/stores/EINSEO/page/3C4BD16F-38EC-4662-8054-393CDD320D82

站外推广


独立站网址
https://www.einseo.com/

广告联盟网址

https://einseo-store.com/
3, UTIMI 深圳市智汇创想科技有限公司
亚马逊网址
https://www.amazon.com/stores/UTIMI/page/CBCC34ED-8D41-45A1-B861-613CF2C9C9AE
4, kingdemer
广告联盟网址

https://kingdemer.org/
4, 成人用品测评的一些网站–参考写测评
Bedbible.com44

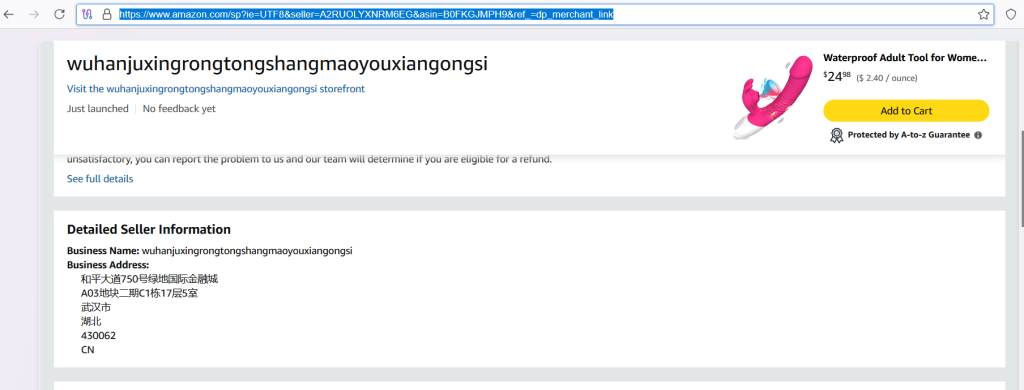
https://www.amazon.com/sp?ie=UTF8&seller=A2RUOLYXNRM6EG&asin=B0FKGJMPH9&ref_=dp_merchant_link //2025-09-07
https://www.amazon.com/sp?ie=UTF8&seller=AEDB19FDD9PGH&asin=B0FKGJMPH9&ref_=dp_merchant_link

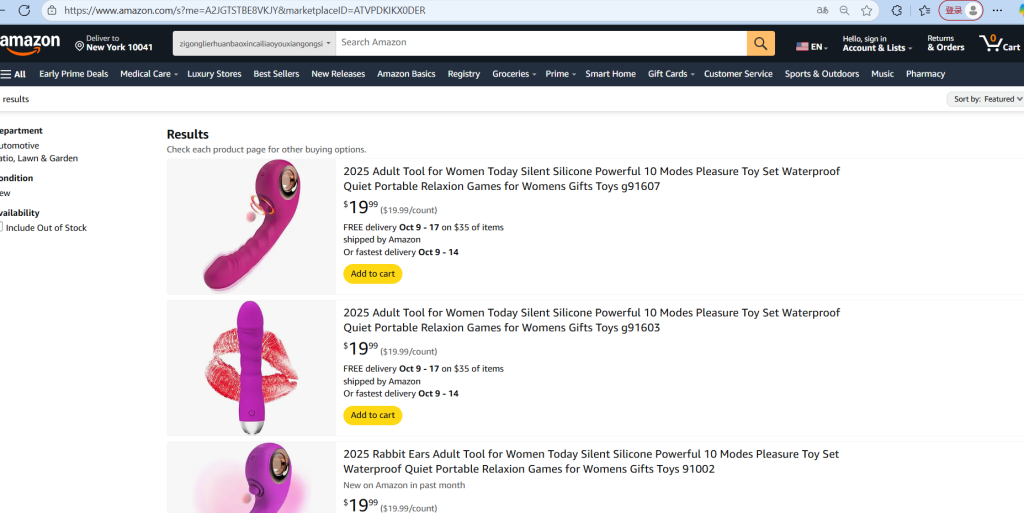
https://www.amazon.com/s?me=AEDB19FDD9PGH&marketplaceID=ATVPDKIKX0DER
https://www.amazon.com/sp?ie=UTF8&seller=AOLF5VCA65KUC&asin=B0FKGJMPH9&ref_=dp_merchant_link      //2025-09-20

https://www.amazon.com/sp?ie=UTF8&seller=AOLF5VCA65KUC&asin=B0FKGJMPH9&ref_=dp_merchant_link //2025-10-15 查不到产品 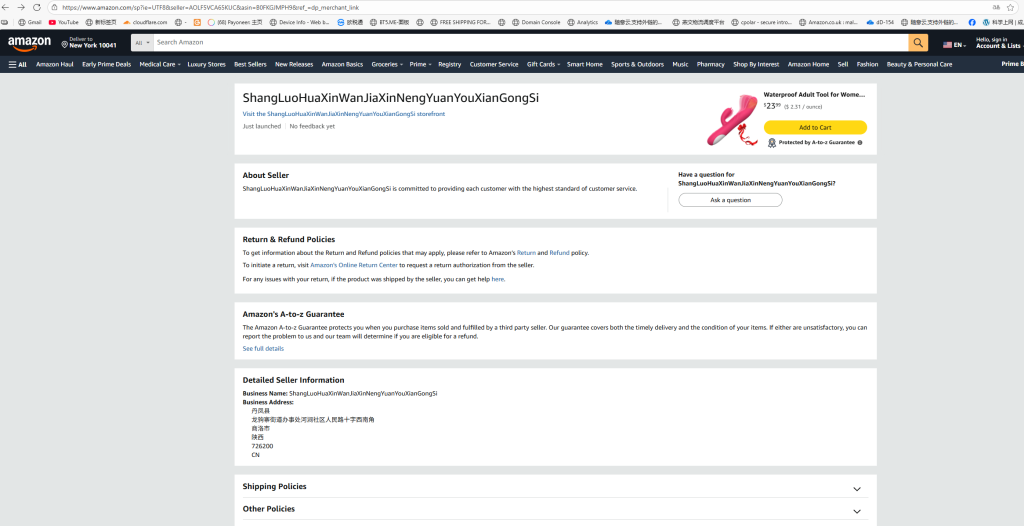

https://www.amazon.com/s?me=AVFYB6X54MJXT&marketplaceID=ATVPDKIKX0DER // 2025-09-25

https://www.amazon.com/sp?ie=UTF8&seller=AVFYB6X54MJXT&asin=B0FKGJMPH9&ref_=dp_merchant_link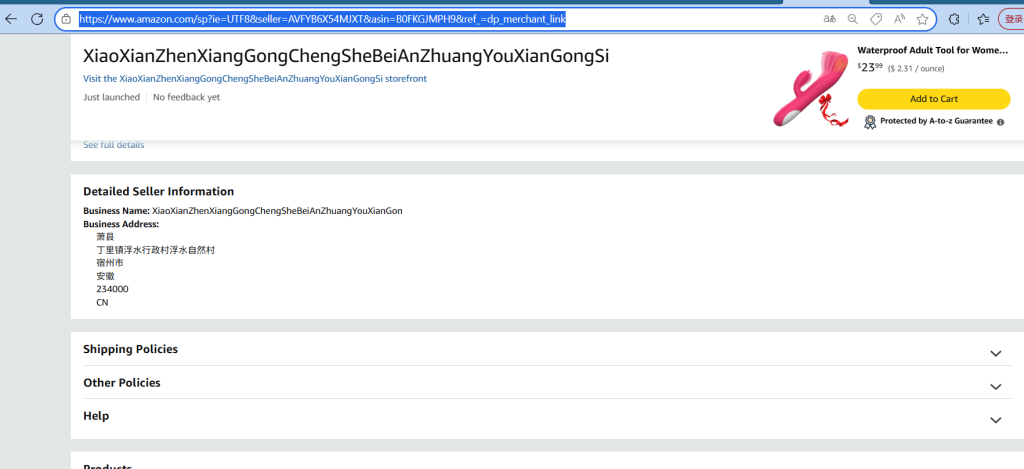
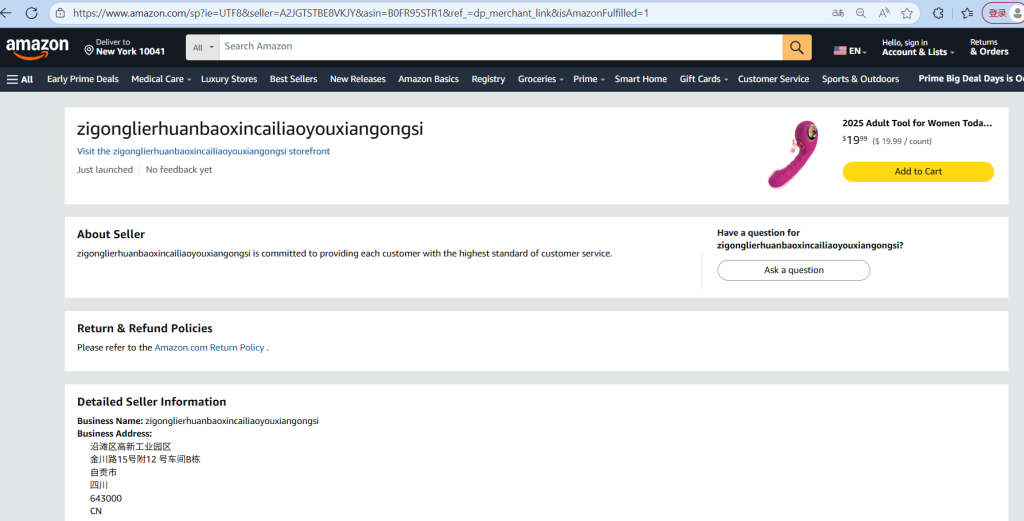
https://www.amazon.com/sp?ie=UTF8&seller=A2JGTSTBE8VKJY&asin=B0FR95STR1&ref_=dp_merchant_link&isAmazonFulfilled=1 // 2025-09-26
------------------brand  duubee ---------------

https://www.amazon.com/sp?ie=UTF8&seller=A20DYD7GRQA0Z&asin=B0FK586GSZ&ref_=dp_merchant_link    //2025-10-02

https://www.amazon.com/sp?ie=UTF8&seller=ARTBXFECNUTO5&asin=B0FH31ZP3V&ref_=dp_merchant_link 2025-10-15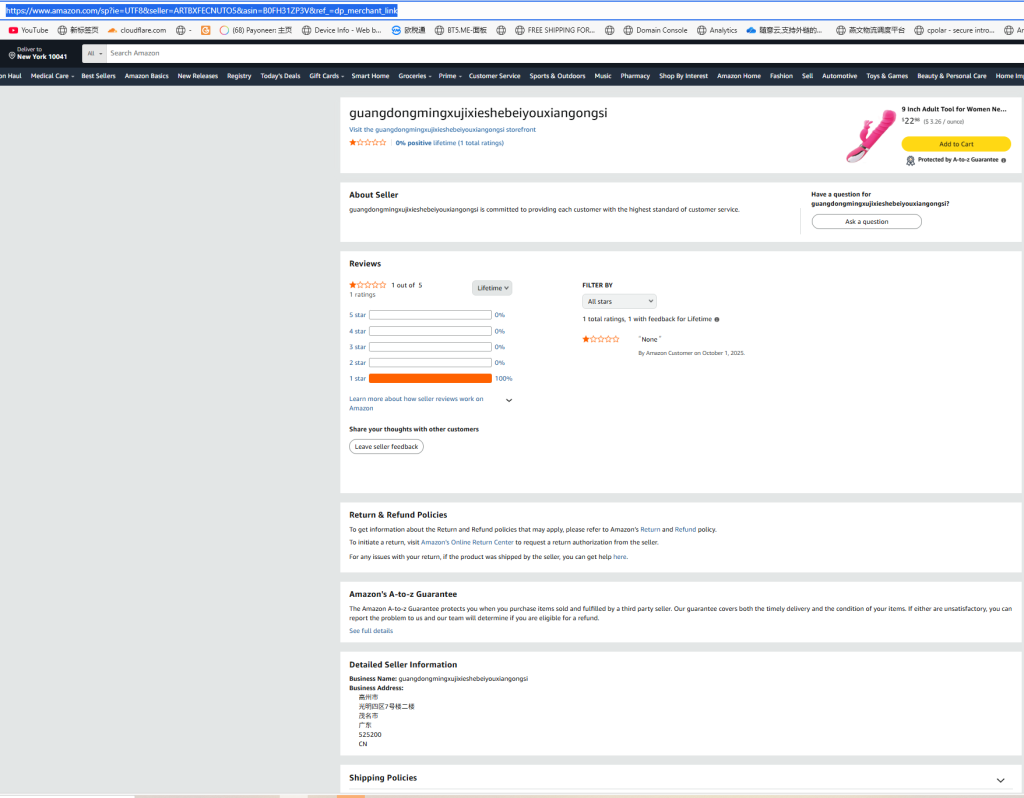

https://www.amazon.com/sp?ie=UTF8&seller=ACGRVBFSJ074C&asin=B0FK53ZT6J&ref_=dp_merchant_link&isAmazonFulfilled=1 2025-10-15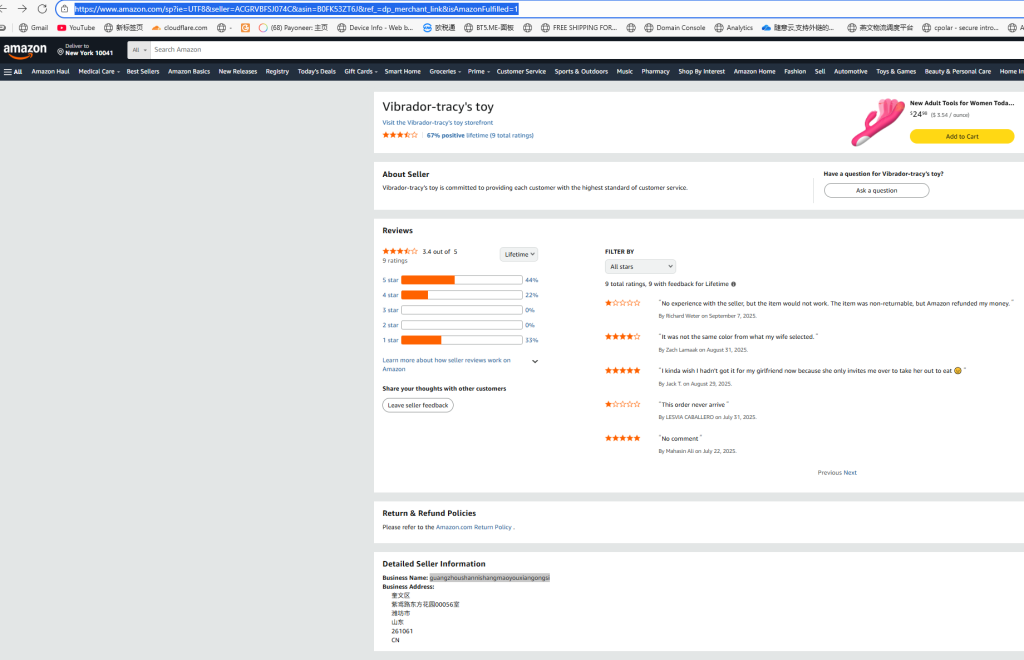

https://www.amazon.com/sp?ie=UTF8&seller=A1WBZAXUVWAXYH&asin=B0FKBH1P9R&ref_=dp_merchant_link 2025-10-15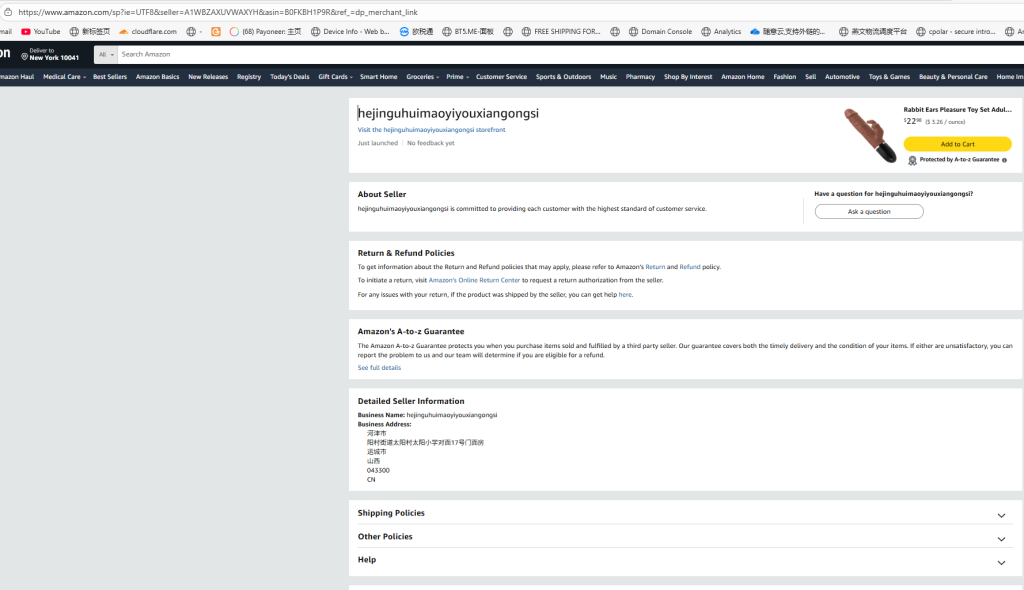

https://www.amazon.com/sp?ie=UTF8&seller=ADFRN3JMDWJQK&asin=B0FMWHYFQL&ref_=dp_merchant_link&isAmazonFulfilled=1 2025-10-15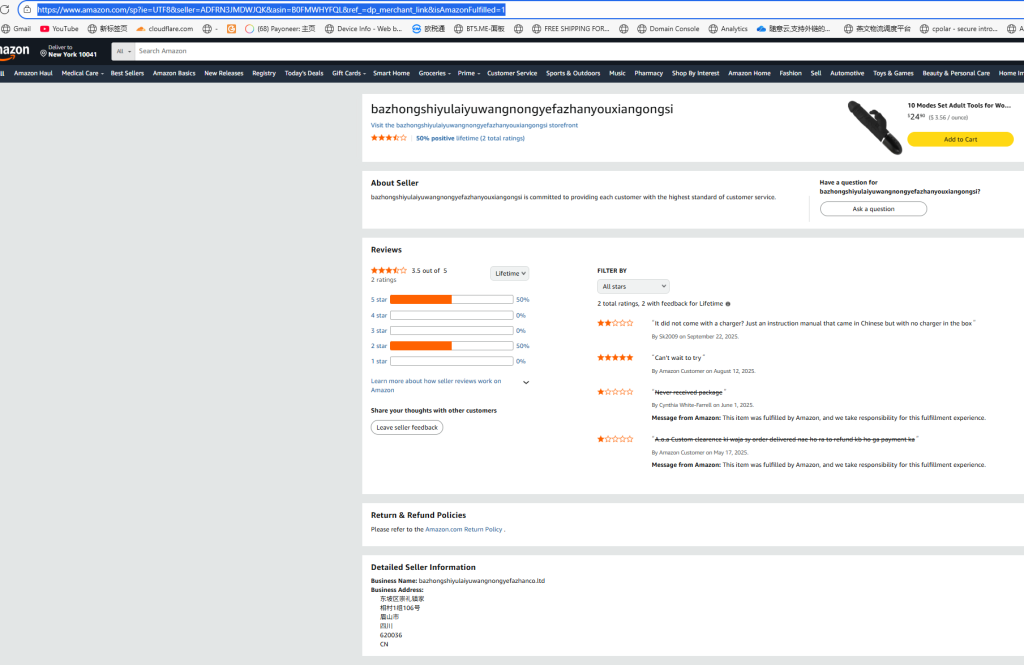

------------------Generic + 无类目----------------https://www.amazon.com/sp?ie=UTF8&seller=A1XQZJ0TGTQOLY&asin=B0DN5KNBYF&ref_=dp_merchant_link 2025-10-16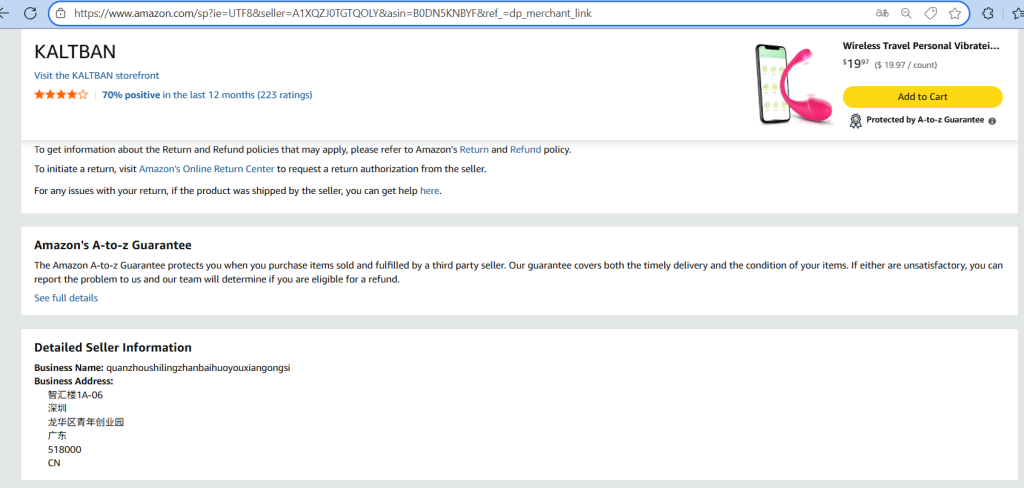

------------------ Generic + Machines & Devices -------------https://www.amazon.com/sp?ie=UTF8&seller=A2UF5IRMXTBF3E&asin=B0DZ6V8QSQ&ref_=dp_merchant_link 2025-10-16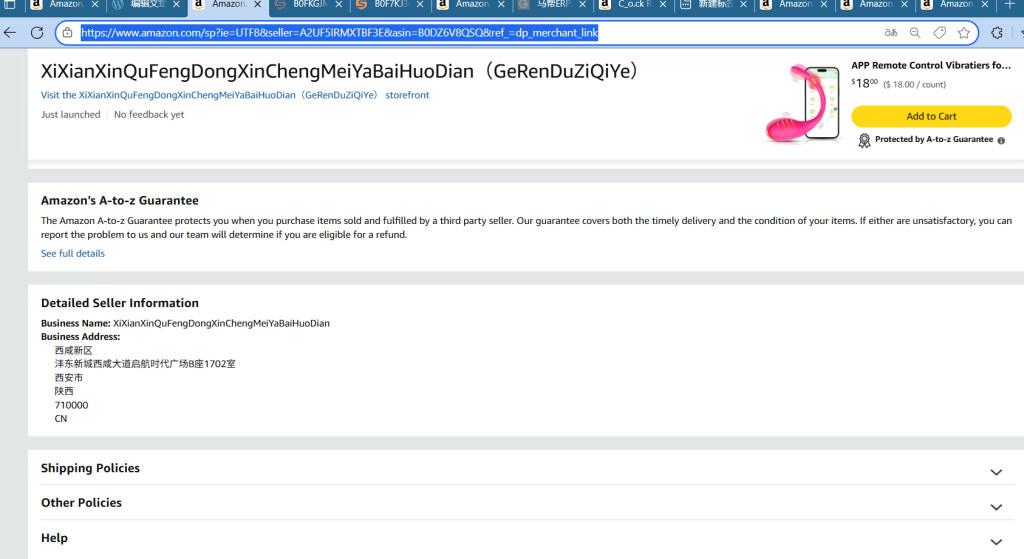
———————Generic ——————-
https://www.amazon.com/sp?ie=UTF8&seller=AR69O6PWOQG7Z&asin=B0FP1XRNWF&ref_=dp_merchant_link 2025-10-17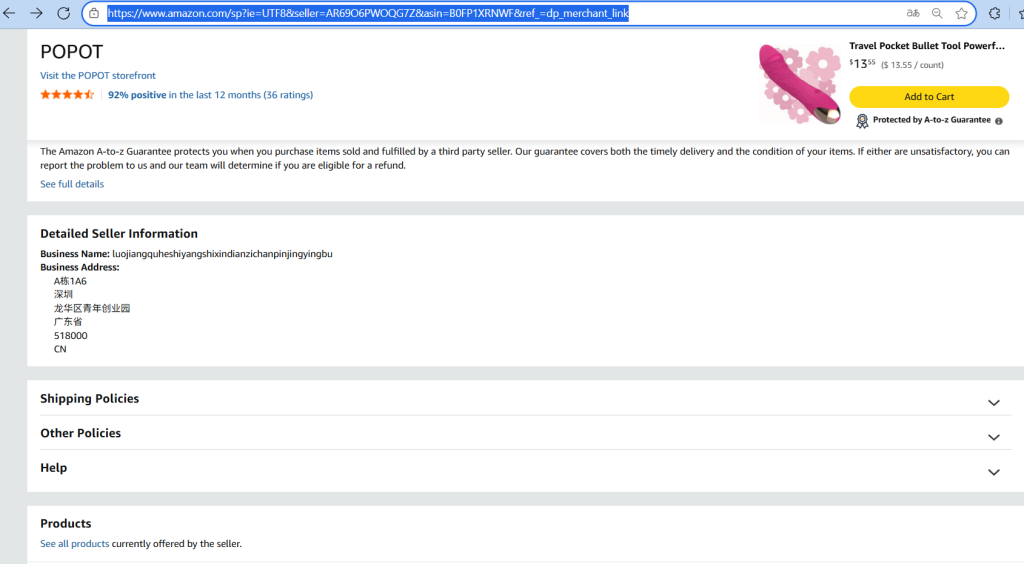

---------------------vabeen--------------
https://www.amazon.com/sp?ie=UTF8&seller=A3IVG2HE864AGV&asin=B0FNMC91WZ&ref_=dp_merchant_link 2025-10-17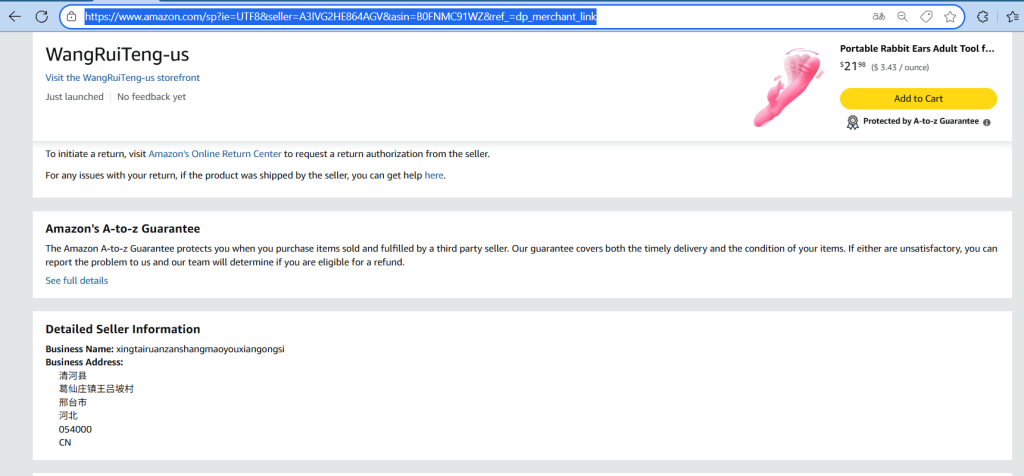

https://www.amazon.com/sp?ie=UTF8&seller=AS8E4GTFVYT0Z&asin=B0FLJBVTJ3&ref_=dp_merchant_link 2025-10-17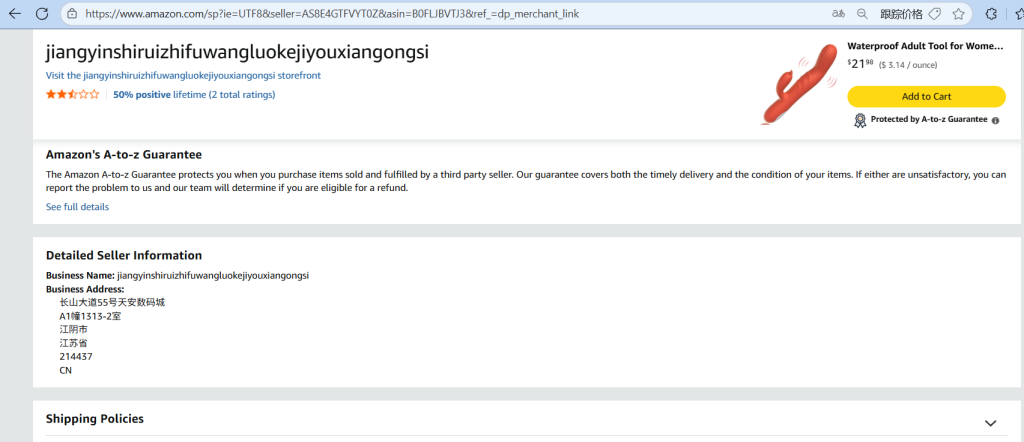

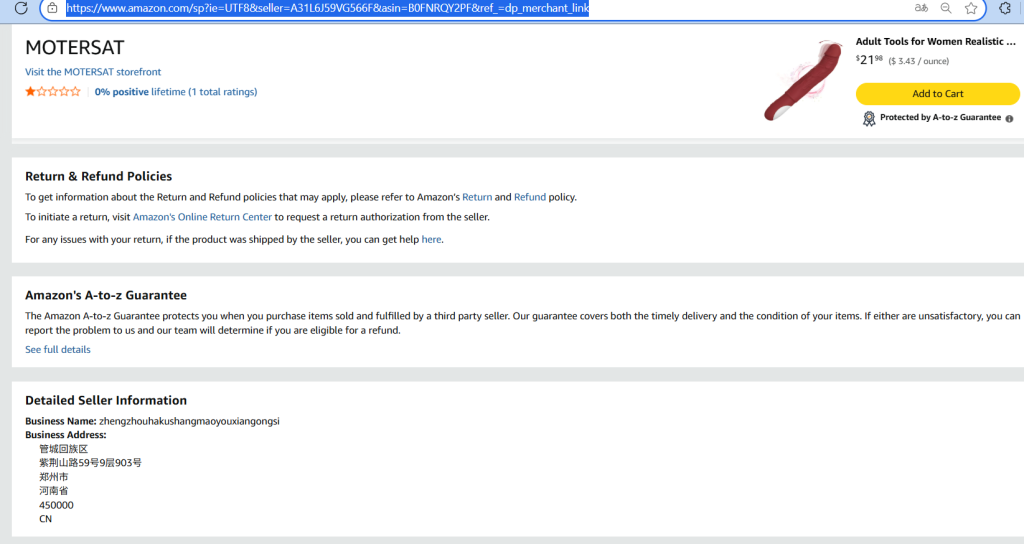
https://www.amazon.com/sp?ie=UTF8&seller=A31L6J59VG566F&asin=B0FNRQY2PF&ref_=dp_merchant_link 2025-10-17

A: 安装X-UI

bash <(curl -Ls https://raw.githubusercontent.com/vaxilu/x-ui/master/install.sh)

B: 一键申请SSL证书

bash <(curl -fsSL https://raw.githubusercontent.com/slobys/SSL-Renewal/main/acme.sh)

如果AlmaLinux 上提示,❌ 不支持的操作系统:almalinux

sudo sed -i 's/centos)/centos|almalinux|rocky|rhel)/' /root/acme_3.0.sh || true
sudo bash /root/acme_3.0.sh
特殊情况,如果遇到证书申请不成功,需要删除已存在文件的,请执行一下命令

sudo rm -rf ~/.acme.sh && sudo rm -rf /tmp/acme
如果提示DNF 安装包冲突那么
sudo dnf upgrade -y –allowerasing –refresh //直接让 DNF 自动替换冲突包:
AlmaLinux 9  服务器安全

启用 EPEL 仓库安装 sshguard

sudo dnf install epel-release -y
sudo dnf update -y
sudo dnf install sshguard -y


sudo dnf config-manager --set-disabled epel*       //长期禁用 EPEL 并只使用官方仓库

sudo dnf config-manager --set-enabled epel*      //允许使用 EPEL
dnf repolist all | grep epel   //查看源的命令
配置示例(/etc/sshguard.conf)
# 使用 firewalld 作为防火墙后端
BACKEND="/usr/libexec/sshguard/sshg-fw-firewalld"

# 永久黑名单文件(自动写入)
BLACKLIST_FILE=90:/var/lib/sshguard/blacklist

# 单次封禁时长(秒)——这里设得比较短,只是触发永久黑名单用
BLOCK_TIME=3600

# 检测时间窗口(秒),在这个时间内累计计数
DETECTION_TIME=600

# 攻击分数阈值(3 次失败登录大约触发)
THRESHOLD=30

LOGREADER="LANG=C /usr/bin/journalctl -afb -o cat -t sshd"   // 保险做法是去掉 -p info,直接全抓:


sudo systemctl restart sshguard


//查看是否成功
nft list ruleset
nft list set inet firewalld sshguard4     //生效IP
journalctl -u sshguard -n 20
journalctl -t sshd -S -5m | grep "Failed password"
sudo systemctl status sshguard
1, Dread Forum
https://dreadytofatroptsdj6io7l3xptbet6onoyno2yv7jicoxknyazubrad.onion    //redit 风格的论坛

2, The hidden wiki


http://zqktlwiuavvvqqt4ybvgvi7tyo4hjl5xgfuvpdf6otjiycgwqbym2qad.onion/wiki/index.php/Main_Page

3, Ahmia

http://juhanurmihxlp77nkq76byazcldy2hlmovfu2epvl5ankdibsot4csyd.onion/
wireguard 客户端可以配置成, 根据 IP 段选择 连接对应的wireguard 服务器端? 例如 wireguard 客户端IP 为 192.168.10.0/24 时, 连接 wireguard 服务器A端, 33.33.33.33 wireguard 客户端IP 为 192.168.20.0/24 时, 连接 wireguard 服务器B端, 44.44.44.44 wireguard 客户端IP 为 192.168.30.0/24 时, 连接 wireguard 服务器C端, 55.55.55.55 wireguard 客户端 安装在openwrt 中, wireguard 服务器端 安装到 centos 服务器中, 有 3台服务器 A,B, C
解决方案
方案一:用 luci-app-pbr(VPN Policy-Based Routing)
1) 安装
opkg update
opkg install luci-app-pbr pbr
#(如未装 WG)
opkg install wireguard-tools kmod-wireguard
2) 配 3 条 WireGuard 接口(/etc/config/network)
关键点:三个接口分别指向 33.33.33.33 / 44.44.44.44 / 55.55.55.55;为避免默认路由被抢占,关闭 route_allowed_ips(或 AllowedIPs 不设 0.0.0.0/0)。
config interface 'wgA'
  option proto 'wireguard'
  list addresses '10.8.0.2/32'       # 你在 A 服务器分给 OpenWrt 的隧道 IP
  option private_key 'XXXXX'
  option peerdns '0'
  option mtu '1420'                  # 视需要调整
  option metric '50'                 # 防止干扰主路由

config wireguard_wgA
  option public_key 'PUBKEY_A'
  option endpoint_host '33.33.33.33'
  option endpoint_port '51820'
  option persistent_keepalive '25'
  list allowed_ips '0.0.0.0/0'       # 让隧道可承载全流量
  option route_allowed_ips '0'       # 但不自动加默认路由

config interface 'wgB'
  option proto 'wireguard'
  list addresses '10.9.0.2/32'
  option private_key 'YYYYY'
  option peerdns '0'
  option mtu '1420'
  option metric '50'

config wireguard_wgB
  option public_key 'PUBKEY_B'
  option endpoint_host '44.44.44.44'
  option endpoint_port '51820'
  option persistent_keepalive '25'
  list allowed_ips '0.0.0.0/0'
  option route_allowed_ips '0'

config interface 'wgC'
  option proto 'wireguard'
  list addresses '10.10.0.2/32'
  option private_key 'ZZZZZ'
  option peerdns '0'
  option mtu '1420'
  option metric '50'

config wireguard_wgC
  option public_key 'PUBKEY_C'
  option endpoint_host '55.55.55.55'
  option endpoint_port '51820'
  option persistent_keepalive '25'
  list allowed_ips '0.0.0.0/0'
  option route_allowed_ips '0'
防火墙:把 wgA/wgB/wgC 加到一个 vpn zone(出方向 ACCEPT,或转发到 WAN),LAN 允许 forward 到 vpn。
3) 策略路由(/etc/config/pbr)
config pbr 'config'
  option enabled '1'
  option strict_enforcement '1'
  option verbosity '1'

config policy
  option name 'LAN10_to_A'
  option src_addr '192.168.10.0/24'
  option interface 'wgA'

config policy
  option name 'LAN20_to_B'
  option src_addr '192.168.20.0/24'
  option interface 'wgB'

config policy
  option name 'LAN30_to_C'
  option src_addr '192.168.30.0/24'
  option interface 'wgC'
重启网络/服务:
/etc/init.d/network restart
/etc/init.d/pbr restart
4): DNS 防泄漏
/etc/config/dhcp(dnsmasq)
10.8.0.1/10.9.0.1/10.10.0.1 的递归或转发 DNS),也可以用公共 DNS。下面给两套写法,你选其一。config dnsmasq
option domainneeded '1'
option boguspriv '1'
option authoritative '1'
option noresolv '1'
option port '0' # 关闭本机53端口,路由器不提供DNS
# 按你的实际接口名修改(示例假设 br-lan10/20/30 对应的 dhcp 段名为 lan10/lan20/lan30)
config dhcp 'lan10'
option interface 'lan10'
option start '100'
option limit '100'
option leasetime '12h'
# 下面两行二选一(只保留你选的那行!)
# 【A 方案:用服务器A的隧道侧DNS】(建议跑 unbound/dnsmasq 在 10.8.0.1)
# list dhcp_option '6,10.8.0.1'
# 【B 方案:用公共DNS(示例Cloudflare)】
list dhcp_option '6,1.1.1.1,1.0.0.1'
config dhcp 'lan20'
option interface 'lan20'
option start '100'
option limit '100'
option leasetime '12h'
# 【A:服务器B】
# list dhcp_option '6,10.9.0.1'
# 【B:公共DNS(示例Google)】
list dhcp_option '6,8.8.8.8,8.8.4.4'
config dhcp 'lan30'
option interface 'lan30'
option start '100'
option limit '100'
option leasetime '12h'
# 【A:服务器C】
# list dhcp_option '6,10.10.0.1'
# 【B:公共DNS(示例Quad9)】
list dhcp_option '6,9.9.9.9,149.112.112.112'
若采用【A 方案】,请在三台 CentOS 上各自开一个本地 DNS(unbound/dnsmasq 任一),监听隧道 IP(如 10.8.0.1),并允许递归到公网;这样天然“所有 DNS 一定走隧道”。
5): /etc/config/firewall(严格拦截 53,只放行白名单 DNS)
为每个网段添加两条规则:允许到“白名单 DNS”的 53、拒绝其它 53。
(下面示例分别给出 A/B 两种上游写法,保留你实际使用的 IP)
######## LAN10 -> 只许到 A 方案的 10.8.0.1(或 B 方案的 1.1.1.1/1.0.0.1) ########
config rule
  option name 'LAN10 allow DNS to A(or CF)'
  option src 'lan10'
  option proto 'tcpudp'
  option dest_port '53'
  # A 方案(服务器A在隧道侧的DNS)
  # option dest_ip '10.8.0.1'
  # B 方案(Cloudflare)
  option dest_ip '1.1.1.1 1.0.0.1'
  option target 'ACCEPT'

config rule
  option name 'LAN10 block other DNS'
  option src 'lan10'
  option proto 'tcpudp'
  option dest_port '53'
  option target 'REJECT'

######## LAN20 -> 只许到 B 方案的 10.9.0.1(或 8.8.8.8/8.8.4.4) ########
config rule
  option name 'LAN20 allow DNS to B(or Google)'
  option src 'lan20'
  option proto 'tcpudp'
  option dest_port '53'
  # A 方案(服务器B)
  # option dest_ip '10.9.0.1'
  # B 方案(Google)
  option dest_ip '8.8.8.8 8.8.4.4'
  option target 'ACCEPT'

config rule
  option name 'LAN20 block other DNS'
  option src 'lan20'
  option proto 'tcpudp'
  option dest_port '53'
  option target 'REJECT'

######## LAN30 -> 只许到 C 方案的 10.10.0.1(或 9.9.9.9/149.112.112.112) ########
config rule
  option name 'LAN30 allow DNS to C(or Quad9)'
  option src 'lan30'
  option proto 'tcpudp'
  option dest_port '53'
  # A 方案(服务器C)
  # option dest_ip '10.10.0.1'
  # B 方案(Quad9)
  option dest_ip '9.9.9.9 149.112.112.112'
  option target 'ACCEPT'

config rule
  option name 'LAN30 block other DNS'
  option src 'lan30'
  option proto 'tcpudp'
  option dest_port '53'
  option target 'REJECT'
6): 服务器端(CentOS)最小可用示例(每台一份)
以 A 为例(B/C 同理改端口与网段):
/etc/wireguard/wg0.conf
[Interface]
Address = 10.8.0.1/24
ListenPort = 51820
PrivateKey = <SERVER_A_PRIVKEY>

# 打开转发 + NAT(iptables 版本,nft/火墙按需替换)
PostUp   = sysctl -w net.ipv4.ip_forward=1 ; iptables -t nat -A POSTROUTING -o eth0 -j MASQUERADE
PostDown = iptables -t nat -D POSTROUTING -o eth0 -j MASQUERADE

[Peer]
# OpenWrt(wgA)的公钥
PublicKey = <OPENWRT_PUBKEY_FOR_A>
AllowedIPs = 10.8.0.2/32
B/C 建议用不同的隧道网段(如 10.9.0.0/24、10.10.0.0/24),便于区分与排错。
启动:
systemctl enable --now wg-quick@wg0
7): 在 CentOS 服务器上开“隧道侧 DNS”
举例:在 A 服务器(10.8.0.1)用 dnsmasq 作转发器(轻量、够用),B/C 同理改 IP。
/etc/dnsmasq.d/wg-dns.conf:
# 仅监听隧道口
interface=wg0
listen-address=10.8.0.1
bind-interfaces
no-resolv
# 上游你可选 Cloudflare/Google/Quad9 等
server=1.1.1.1
server=1.0.0.1
cache-size=1000
启动并自启:
systemctl enable --now dnsmasqroute_allowed_ips '0'。# 路由表 101/102/103:默认走各自的 wg 接口
config route
option interface 'wgA'
option target '0.0.0.0'
option netmask '0.0.0.0'
option table '101'
config rule
option src '192.168.10.0/24'
option lookup '101'
option priority '1010'
config route
option interface 'wgB'
option target '0.0.0.0'
option netmask '0.0.0.0'
option table '102'
config rule
option src '192.168.20.0/24'
option lookup '102'
option priority '1020'
config route
option interface 'wgC'
option target '0.0.0.0'
option netmask '0.0.0.0'
option table '103'
config rule
option src '192.168.30.0/24'
option lookup '103'
option priority '1030'/etc/init.d/network restart
3):给每个表加“默认走 wgX”的路由(/etc/config/network)
##### 表101:默认经 wgA #####
config route
  option interface 'wgA'
  option target '0.0.0.0'
  option netmask '0.0.0.0'
  option table '101'          # => ip route add default dev wgA table 101

#(如用IPv6,同样建一条默认路由到 wgA)
# config route6
#   option interface 'wgA'
#   option target '::'
#   option netmask '0'
#   option table '101'

##### 表102:默认经 wgB #####
config route
  option interface 'wgB'
  option target '0.0.0.0'
  option netmask '0.0.0.0'
  option table '102'          # => default dev wgB

# config route6
#   option interface 'wgB'
#   option target '::'
#   option netmask '0'
#   option table '102'

##### 表103:默认经 wgC #####
config route
  option interface 'wgC'
  option target '0.0.0.0'
  option netmask '0.0.0.0'
  option table '103'          # => default dev wgC

# config route6
#   option interface 'wgC'
#   option target '::'
#   option netmask '0'
#   option table '103'
用策略规则把各源网段指向对应表(/etc/config/network)
##### LAN10 -> 表101 -> wgA #####
config rule
  option src '192.168.10.0/24'
  option lookup '101'
  option priority '1010'

##### LAN20 -> 表102 -> wgB #####
config rule
  option src '192.168.20.0/24'
  option lookup '102'
  option priority '1020'

##### LAN30 -> 表103 -> wgC #####
config rule
  option src '192.168.30.0/24'
  option lookup '103'
  option priority '1030'
编辑 /etc/iproute2/rt_tables 末尾追加:
101 t_wgA
102 t_wgB
103 t_wgC
应用并自检
/etc/init.d/network restart

# 查看规则与表
ip rule
ip route show table 101
ip route show table 102
ip route show table 103

# 看 WG 是否在传数据
wg show
1, 美国用 Netgear, 英国用British Telecommunications plc
美国: 前缀 00:1B:2F → 例:00:1B:2F:11:61:70       //NETGEAR
英国: 前缀 00:00:DB → 例:00:00:DB:01:23:45       //British Telecommunications plc

查询网址: https://maclookup.app/